Patching Small Holes in Interior Walls: Spackle, Joint Compound, or Filler — Step-by-Step Method, +
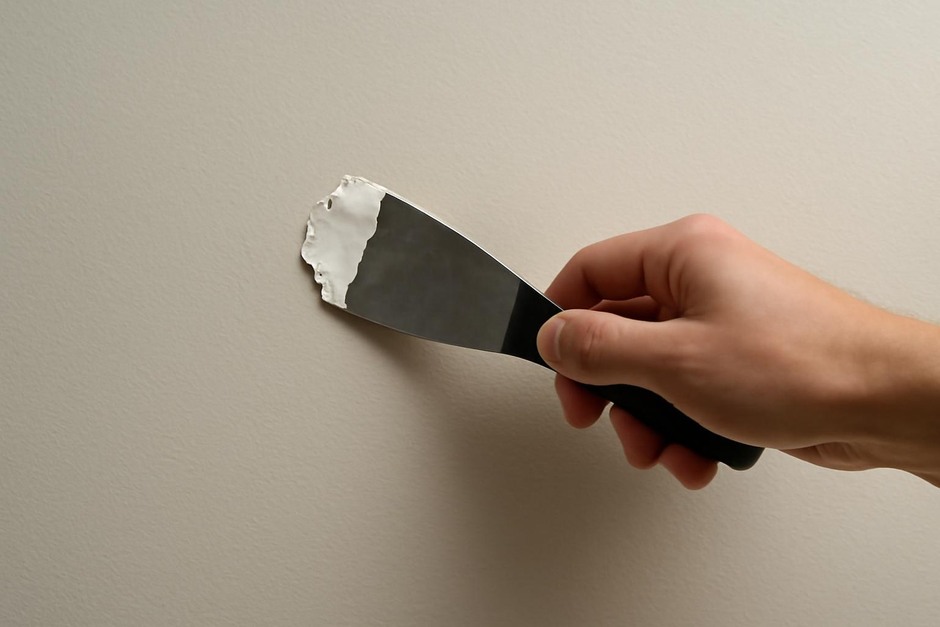
Small holes and dents are one of the most frequent visible signs of everyday life in a home: picture hooks, doorknob strikes, or the odd nail. Choosing the right repair material and following a basic method will make those blemishes nearly disappear. Below is a comparison of common fillers, a practical step-by-step repair for holes roughly up to the size of a golf ball, then variations and troubleshooting for common problems.
Materials and trade-offs: spackle, joint compound, and ready-mixed filler
- Lightweight spackle: Best for tiny nail holes and shallow dents. Dries quickly, sands easily, and shrinks minimally. It is easy to use for a single small repair but can be brittle if applied thickly.
- All-purpose joint compound: Intended for drywall taping and larger repairs. It is forgiving to work with, tolerates slightly thicker applications, and offers a smoother finish for repainting. It takes longer to dry than lightweight spackle and often requires more sanding.
- Ready-mixed wall filler (multi-surface filler): A thicker option that can fill slightly deeper holes without backing. It adheres well to plaster and older surfaces. Drying and sanding performance varies by brand; some formulae resist shrinkage but can be harder to sand smoothly.
- Epoxy or patching putty: Durable and waterproof; useful for holes where strength or moisture resistance is important (kitchen backsplashes, bathrooms). It is less easy to sand perfectly smooth and may require shaping before curing.
- Trade-offs summary: Lightweight spackle = fast and tidy for small work; joint compound = smooth finish for larger or feathered repairs; ready-mixed filler = good for uneven older plaster; epoxy = strength and moisture resistance at the cost of sandability.
Step-by-step method for holes up to roughly golf-ball size
This method aims for a durable, paint-ready repair that minimizes visible edges. Use the material best suited to the hole size and wall type from the comparison above.
-
Prepare the area.
Remove loose plaster, flaking paint, or jagged drywall paper with a utility knife or scraper. For painted surfaces, lightly sand the perimeter so the filler can adhere. Wipe away dust with a damp cloth and let dry.
-
Apply backing if needed.
For holes larger than about 1–2 inches, support the filler with a backing: a small piece of foam, a cardboard patch, or a mesh patch is helpful. For holes smaller than this, most fillers can be applied directly.
-
First fill pass.
Using a putty knife, press your chosen filler firmly into the hole. For spackle or joint compound, push slightly beyond the surface to allow for settlement. Smooth the surface so the filler is slightly proud of the wall—this leaves material to sand down for a flush finish.
-
Dry thoroughly.
Follow the product directions—lightweight spackle may dry in 30 minutes to an hour; joint compound can take several hours to overnight. Ensure the repair is fully dry before sanding.
-
Sand to finish.
Use a fine sanding block or 120–220 grit sandpaper. Feather the edges so the repaired area blends into the surrounding paint. If small depressions appear after sanding, apply a thin skim coat and sand again once dry.
-
Prime and paint.
For best paint adhesion and to avoid visible patch marks, prime the repaired spot with a small brush or roller, then paint once the primer is dry.
Variations
- Textured walls: For orange-peel or stippled textures, replicate the texture before priming. Use texture-spray products or stipple with a brush/roller while the final skim coat is wet. Practice on scrap material first to match the pattern.
- Plaster walls: Old lime plaster can be more brittle. Use a ready-mixed filler or a plaster-based patch for better adhesion, and consider embedding a small mesh for larger hollows.
- Damp-prone areas: Use an epoxy- or acrylic-based filler designed for moisture resistance. Follow with a moisture-tolerant primer and paint.
- Large holes: For holes larger than a golf ball, install a backing (plywood, adhesive mesh, or drywall patch) and use joint compound in layers. Each layer should dry before the next is applied.
Troubleshooting
- Patch sinks after drying: Causes include applying filler too thinly or using a filler that shrinks. Solution: apply a second thin coat, allow full drying, then sand and finish.
- Edges remain visible after painting: Usually due to inadequate feathering. Lightly sand the perimeter and apply a thin skim coat extending several centimetres beyond the patch; prime and repaint.
- Cracking in the repair: May be from movement in the wall or applying a hard filler on a flexible surface. Use a flexible repair compound or embed mesh to distribute stress; allow proper drying time between layers.
- Rough or pitted finish after sanding: Choose a finer grit and sand lightly; if the texture is uneven, apply a thin skim coat and sand again after it cures.
- Poor adhesion: Ensure the surface is clean, dry, and free of loose paint. For very glossy surfaces, scuff-sand before applying filler.
Small wall repairs are manageable with modest tools and one or two appropriate materials. Selecting the filler that matches the hole size and wall type and following a patient, layered approach yields the smoothest, longest-lasting results.