Welcoming Pollinators: Patch Planting vs Distributed Planting — a Practical Field Guide
When you set out to invite pollinators into a yard, the first practical choice is about pattern: do you make one visible, concentrated patch of flowers, or do you tuck nectar and host plants around the entire site? Both approaches attract insects, but they produce different rhythms and require different observations to know if they are working. Below I compare the two and then offer a simple decision framework so you can choose the approach that will feel most useful in your garden.
Approach 1: The Pollinator Patch (concentrated planting)
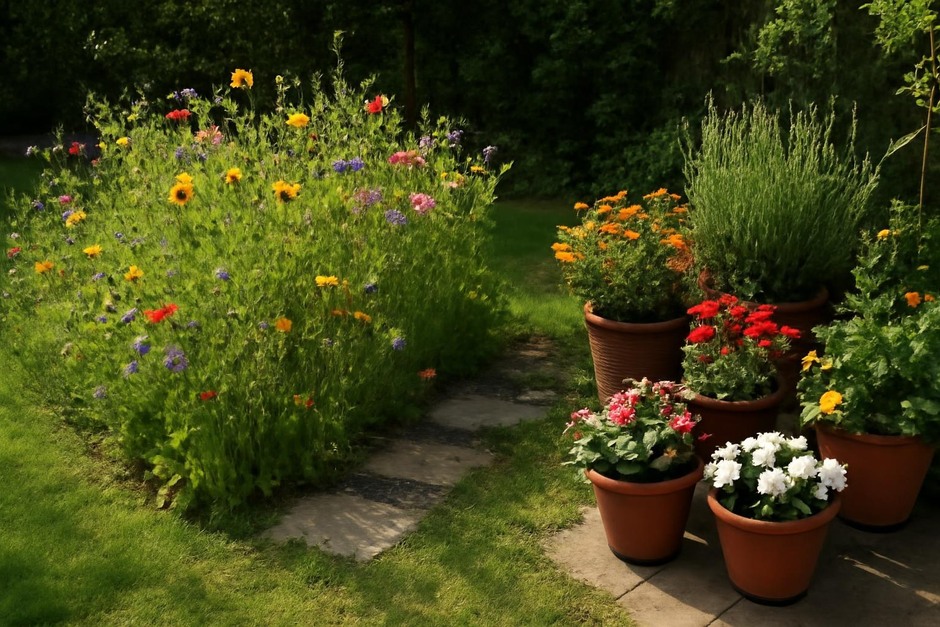
What it is: A contiguous bed or meadow-like area planted primarily for nectar and pollen: one place with high floral density, often dominated by native wildflowers and grasses. It can be as small as 1–2 square metres or as large as a back lawn converted to meadow.
How to set it up (quick field steps)
- Choose a sunny spot; many pollinators favour sunlit flowers.
- Mix species with staggered bloom times to prolong availability.
- Use clusters of the same species to make flowers more visible to flying insects.
- Avoid pesticide use and leave some nesting habitat—bare soil patches for ground-nesters, hollow stems for mason bees.
Pros
- Visibility: A dense patch is easy to see and monitor from a distance; the effect is immediate.
- Resource concentration: Pollinators expend less energy moving between flowers, so you may see longer feeding visits.
- Low-fragmentation: Ideal for species that prefer open foraging areas.
Cons
- Monoculture risk: If the patch lacks species diversity, it may only support a narrow range of pollinators.
- Seasonal gaps: If bloom succession isn’t planned, the patch can look empty between flushes.
- Visibility trade-off: A highly visible patch may conflict with formal planting designs.
Approach 2: Distributed Planting (scattered pockets and edge plantings)
What it is: Small groups of pollinator-friendly plants placed among beds, borders, containers, and hedgerows—so nectar and larval food are present throughout the garden rather than concentrated in one spot.
How to set it up (quick field steps)
- Identify regular paths and seating areas and add a few reliable bloomers nearby.
- Include host plants for specific butterflies and moths among ornamental beds (e.g., nettles for fritillaries, dill for swallowtails).
- Use container plantings to bring flowers to balconies or paved areas.
Pros
- Integration: Pollinator resources are woven into everyday garden life—more chance encounters for people and insects.
- Resilience: Spatial diversity reduces the risk that a single failure (disease, drought) wipes out resources.
- Design flexibility: Easier to accommodate within formal or small gardens.
Cons
- Lower floral density: Some pollinators search for dense flower patches and may miss scattered blooms.
- Monitoring challenge: It’s harder to see trends because activity is spread across the site.
- Maintenance coordination: Requires attention across multiple micro-sites to ensure continuous bloom.
How to choose: a practical observation-based checklist
Use this short checklist in the week or two after planting to decide which approach fits your yard and habits. Spend 10–15 minutes at two different times of day—morning and late afternoon—taking notes.
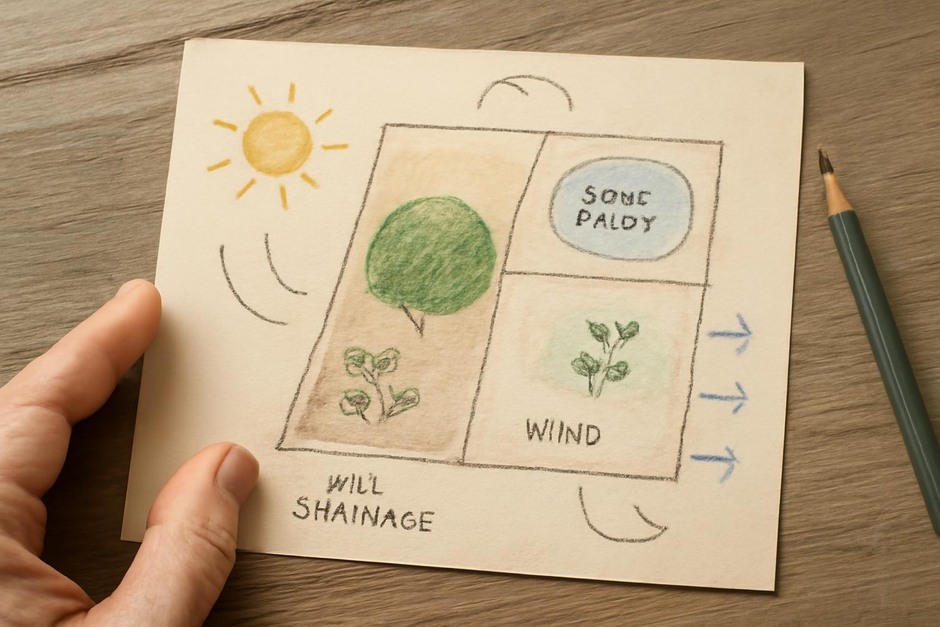
- Space and sunlight: Do you have one area with sustained sun suitable for a patch, or only small sunny pockets? If the former, a patch is efficient; if the latter, distributed planting is more realistic.
- Current wildlife patterns: Watch where insects already visit. If they gather in the same corner, enhancing that patch amplifies existing behavior. If they flit through borders, reinforce distributed planting.
- Desired visibility: Do you want a showpiece you can admire from a window or a seat? Choose a patch. If you prefer gentle surprises throughout the garden, scatter plantings work better.
- Maintenance rhythm: Can you tend many small spots (watering, deadheading) or do you prefer focused maintenance? Patches concentrate effort; distributed plantings spread it.
- Wildlife goals: For supporting ground-nesting bees and species that prefer massed flowers, a patch is often superior. For supporting a wider assemblage—nectar feeders, host-plant specialists, container-friendly pollinators—choose distributed planting.
Quick observational cues that you’re succeeding
- Steady visits across at least three insect groups (bees, hoverflies, butterflies) during bloom—note species or distinct shapes.
- Evidence of nesting—holes in bare soil, hollow stems cut cleanly, or leaf-chewing larvae on host plants.
- Repeated use of the same flowers across days indicates a reliable resource.
Both approaches can be combined: start with a small patch and add distributed pockets where you want year-round interest. The core habit is the same—observe, adjust, and let what the garden tells you guide the next planting. Over seasons you’ll refine bloom lists, timing, and layout from direct observation, steadily increasing the number and variety of visitors that pass through your garden.